1. Preparation
H618 development board, remote tools like WinSCP and PuTTY, and enabling SSH remote login on Ubuntu.
2. Build Environment Setup
First, update the system package list and install the development tools and dependency libraries required to build Qt. Run the following commands in a terminal:
sudo apt update
sudo apt install build-essential g++ libgl1-mesa-dev libglu1-mesa-dev freeglut3-dev mesa-common-dev libx11-dev libxext-dev libxtst-dev -y
The above covers the GCC compiler, the Make tool, and the X11 and OpenGL libraries required by the Qt GUI.

This is mainly because the “Universe” repository has not been enabled
sudo add-apt-repository universe
sudo apt update
After completing the two steps above, simply run your earlier install command again
3. Source Code Extraction
First download the source archive with wget;
wget -c https://download.qt.io/archive/qt/5.12/5.12.12/single/qt-everywhere-src-5.12.12.tar.xz
If the link fails, the Qt server has most likely blocked the IP; the source can be downloaded over a proxy connection instead: qt-everywhere-src-5.12.12.tar.xz
, or obtain it directly by following this site’s official WeChat account and sending “qt-everywhere-src-5.12.12.tar.xz”
Extract the archive once the download completes
sudo tar -xvf qt-everywhere-src-5.12.12.tar.xz
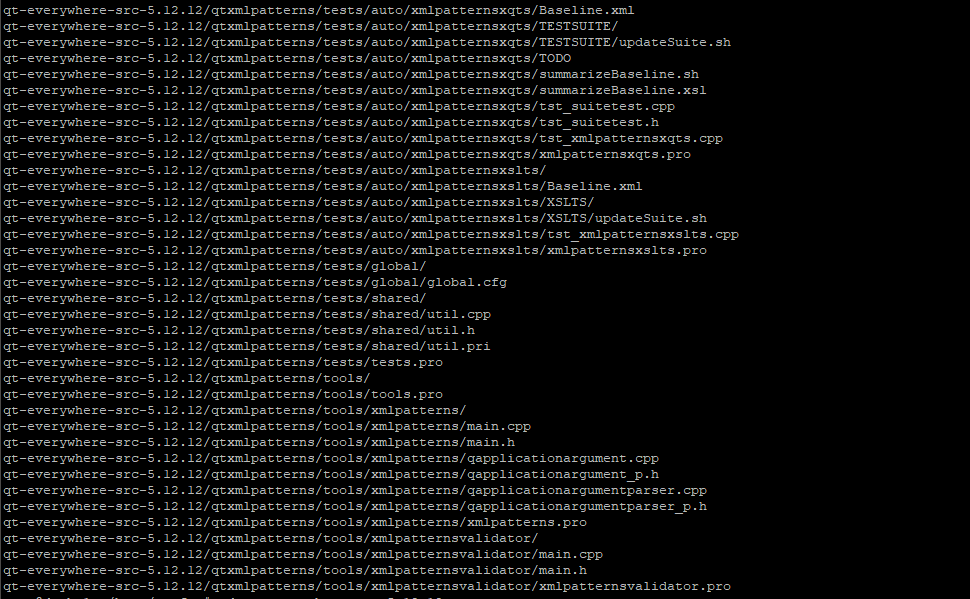
This takes quite a while; once extraction finishes it looks like this:
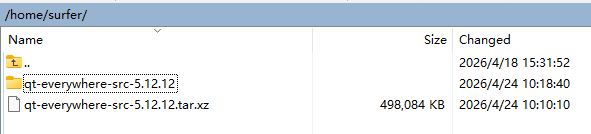
4. Building and Compiling
4.1 Starting the Build
Use the cd command to enter the qt-everywhere-src-5.12.12 folder. Because the default GCC on Ubuntu 22.04 is too new (gcc 11) while Qt 5.12.12 is a fairly old release that does not tolerate some of the stricter checks in newer compilers, two places have to be modified first: add #include <limits> at the include section of both header files, qtbase/src/corelib/global/qendian.h and qtbase/src/corelib/tools/qbytearraymatcher.h
sudo vim qtbase/src/corelib/global/qendian.h
After the change, the top of qendian.h should look roughly like this:
#include <QtCore/qglobal.h>
#include <limits>  // <--- add this line
#include <string.h>
// ...
Then press Esc, type wq! to save and exit, and edit qbytearraymatcher.h
sudo vim qtbase/src/corelib/tools/qbytearraymatcher.h
After the change, the top of qbytearraymatcher.h should look roughly like this:
#include "qbytearray.h"
#include <limits>   // <--- add this line
#include <string.h>
Once the changes are done, run the configure command to specify the install path, and temporarily disable OpenGL support to simplify the first build
./configure -prefix /opt/Qt5.12.12-arm64 -opensource -confirm-license -release -shared -no-opengl -skip qtwebengine
- -prefix /opt/Qt5.12.12-arm64: the install directory for the Qt libraries.
- -no-opengl: disables OpenGL, which avoids a number of complicated dependency problems. If OpenGL support is needed later, install the relevant dependencies after one successful build and then rebuild.
Before running the configure command, the entire contents of qtbase/src/platformsupport/vkconvenience/vkconvenience.cpp must also be commented out. This is a known Qt 5.12 issue: even when configure is told that OpenGL is not needed, it still tries to compile certain Vulkan helper code that depends on OpenGL headers. Edit the file
sudo vim qtbase/src/platformsupport/vkconvenience/qvkconvenience.cpp
Add a macro guard to exclude the code At the very top of the file (before the #include lines), add a line #if 0, and at the very end of the file add a line #endif. That effectively comments out the whole file, because if OpenGL is not needed then neither is this Vulkan-to-OpenGL conversion helper. The file structure after the change:
#if 0  // <--- add this line to start the exclusion

// (all the original file content goes here, leave it untouched)
// #include ...
// static QVkFormat ...
// case GLFormat::...

#endif // <--- add this line to end the exclusion
Save and exit, then run the configure command; after it starts, wait ten-odd minutes for it to finish,
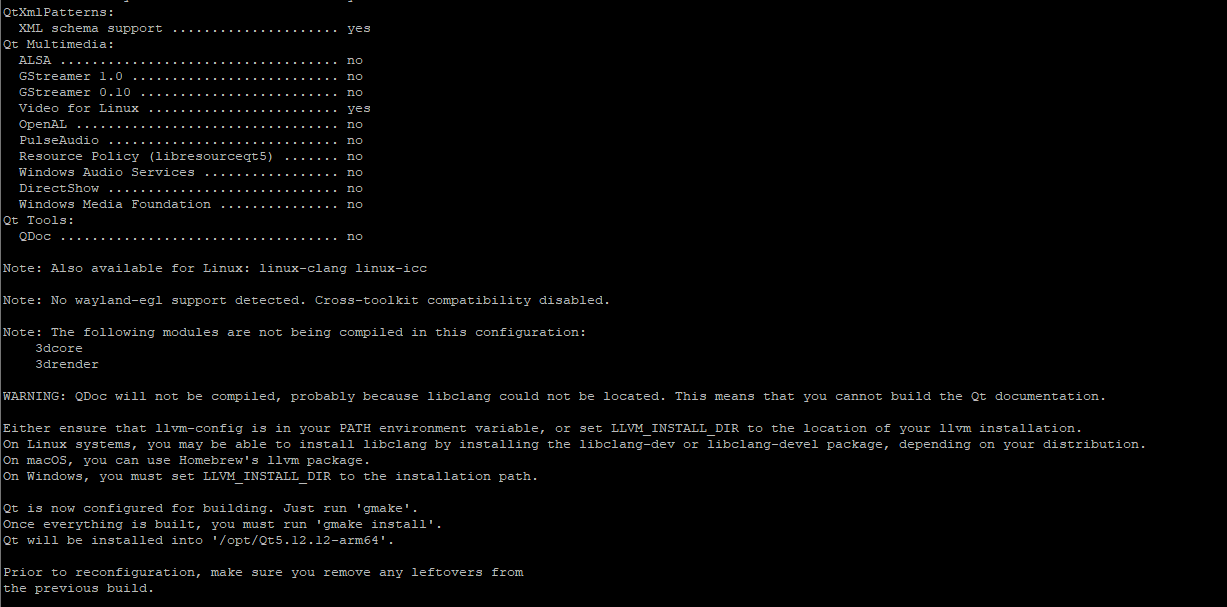
Additional note: without -skip qtwebengine, a few warnings appear once configuration ends:
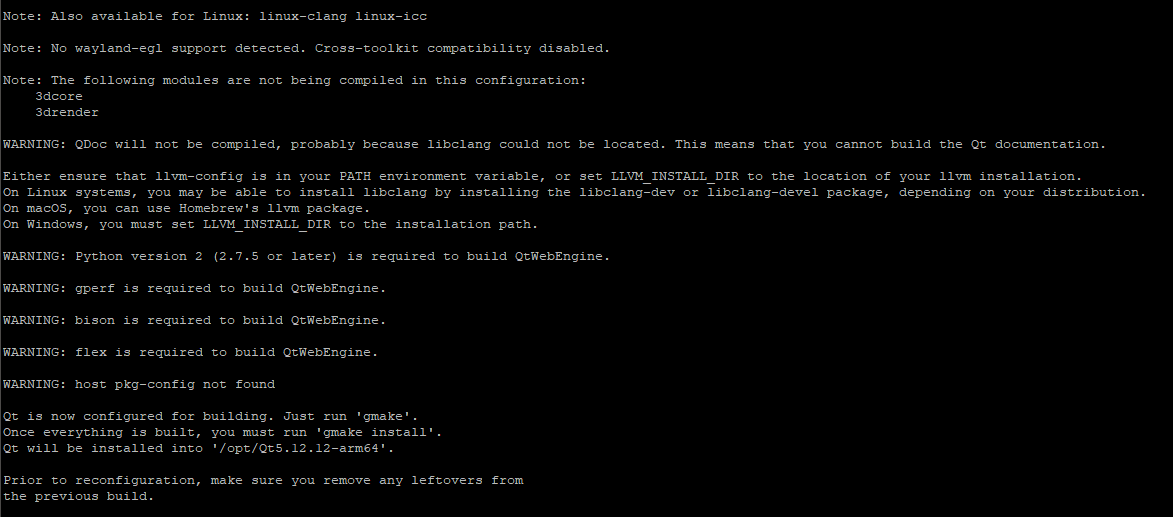
They can be ignored and do not affect building the core Qt libraries:
- QDoc / libclang warning: this concerns the documentation generation tool and does not affect Qt at runtime.
- QtWebEngine warnings (Python, gperf, bison, flex):
- QtWebEngine is an enormous module (essentially a browser engine).
- The warnings report that gperf, bison and flex are missing. If web browser functionality is not needed, these warnings can be ignored. If WebEngine really is needed, the build will fail when it reaches that module, and installing them at that point is still soon enough.
If the extra time is a concern, these packages can all be installed up front
sudo apt-get update
sudo apt-get install gperf bison flex python3
The Qt 5.12 configure script is fairly old and normally only recognizes the python command, whereas current Linux systems ship only python3 by default. Without this step, configuration may again fail with a Python-not-found error.
sudo ln -sf /usr/bin/python3 /usr/bin/python
Once the installation finishes, rerun the configure command from earlier so that it picks up these new tools:
./configure -prefix /opt/Qt5.12.12-arm64 -opensource -confirm-license -release -shared -no-opengl -skip qtwebengine
If there are still warnings, they are most likely about QtWebEngine again; skipping the QtWebEngine build and going straight to the core libraries is strongly recommended. The reasons:
- Resource consumption: QtWebEngine is based on Chromium and building it is extremely memory-hungry. On a development board it very easily runs out of memory (OOM), and the process is killed outright by the system.
- Time cost: building WebEngine can take several hours or even longer.
- Alternatives: embedded development normally uses the system browser or a lightweight solution rather than stuffing an entire browser engine into Qt.
4.2 Starting the Compilation
Once configuration succeeds, start the build. This process is very time-consuming; how long depends on the performance of the H618 board.
# The -j option enables multi-core parallel compilation to speed things up. $(nproc) picks up the CPU core count automatically.
make -j$(nproc)
5. Installation
Once the build completes, install the built files into the directory specified earlier.
sudo make install
Since the H618 board is no match for desktop PC performance, the build here involves a very long wait (roughly 6 to 7 hours);
6. Environment Configuration and Verification
After installation, environment variables need to be configured so that the Qt commands are available from anywhere.
6.1 Configuring Environment Variables
Add the Qt executable path and library path to the system environment variables.
# Append the following two lines to the end of ~/.bashrc
echo 'export PATH=/opt/Qt5.12.12-arm64/bin:$PATH' >> ~/.bashrc
echo 'export LD_LIBRARY_PATH=/opt/Qt5.12.12-arm64/lib:$LD_LIBRARY_PATH' >> ~/.bashrc

# Apply the configuration immediately
source ~/.bashrc
6.2 Verifying the Installation
Finally, check the qmake version to verify that Qt installed successfully.
qmake --version
If the installation succeeded, the terminal shows something like QMake version 3.1, Using Qt version 5.12.12.
7. Application Development
Development can now proceed with Qt Creator.
-
Install Qt Creator: for convenient development, Qt Creator can be installed through the Ubuntu package manager.
sudo apt install qtcreator -y -
Configure a Kit: open Qt Creator and go to
Tools->Options->Kits.- On the
Qt versionstab, click “Add” and select the/opt/Qt5.12.12-arm64/bin/qmakeyou just built. - On the
Compilerstab, make sure theGCCcompiler has already been auto-detected. - On the
Kitstab, create a new kit that ties together the Qt version and compiler added above.
- On the
With the configuration above in place, you can create a new Qt Widgets application and write, build and debug code directly on your H618 development board.