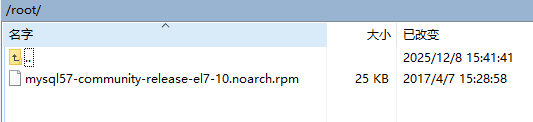
1. Download the Installation Package
sudo wget -i -c http://dev.mysql.com/get/mysql57-community-release-el7-10.noarch.rpm
2. Start Installation
sudo yum -y install mysql57-community-release-el7-10.noarch.rpm
3. Install the Server
sudo yum -y install mysql-community-server
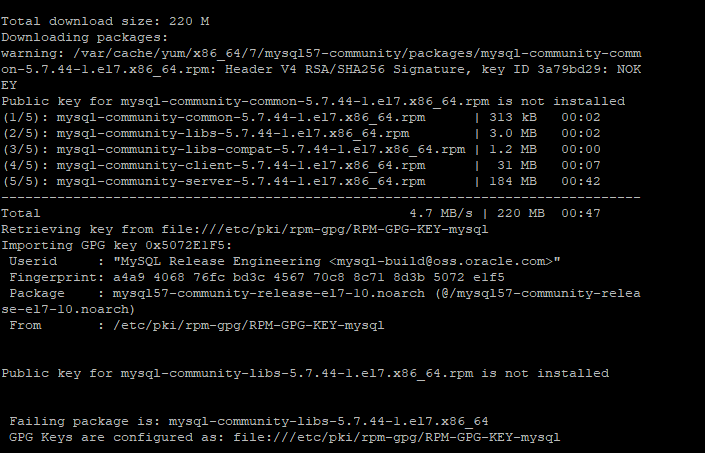
If the above error occurs during installation (errors may vary depending on the environment), please refer to the following solutions:
Error 1
Error: Package: akonadi-mysql-1.9.2-4.el7.x86_64 (@anaconda) requires: mariadb-server Removing: 1:mariadb-server-5.5.68-1.el7.x86_64 (@anaconda) mariadb-server = 1:5.5.68-1.el7 Obsoleted By: mysql-community-server-5.7.41-1.el7.x86_64 (mysql57-community) Not found You could try using --skip-broken to work around the problem
Solution:
sudo yum -y remove mariadb-libs
Error 2
Failed package is: mysql-community-server-5.7.41-1.el7.x86_64 GPG key configured as: file:///etc/pki/rpm-gpg/RPM-GPG-KEY-mysql
Solution:
sudo rpm --import https://repo.mysql.com/RPM-GPG-KEY-mysql-2022
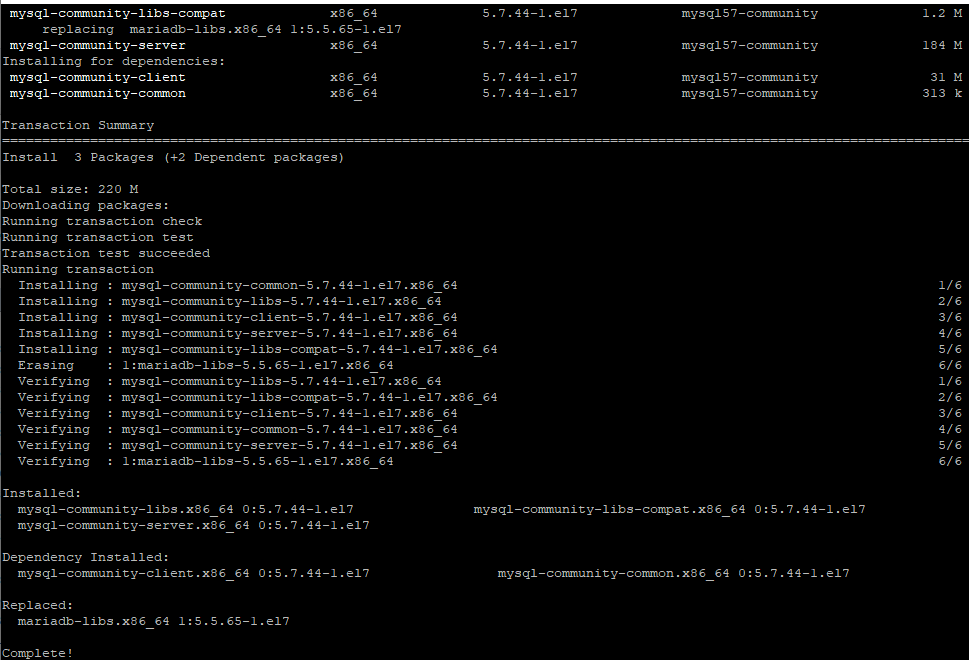
If “Complete” is displayed, it means the service installation was successful!
4. MySQL Database Configuration
4.1. Start the Service
sudo systemctl start mysqld.service
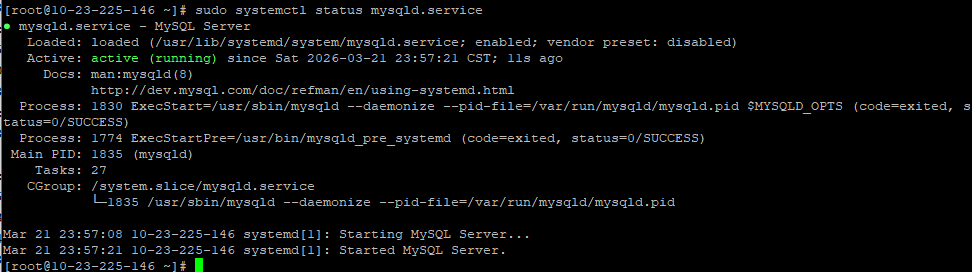
4.2. Check MySQL Running Status
Run the status as shown in the figure:
sudo systemctl status mysqld.service
4.3. Retrieve Root Password
At this point, MySQL is running normally. However, to access MySQL, you must first find the password for the root user. You can find the password in the log file using the following command:
sudo grep "password" /var/log/mysqld.log

4.4. Log in to the Database
sudo mysql -uroot -p
4.5. Change the Default Password
mysql> ALTER USER 'root'@'localhost' IDENTIFIED BY 'new password';
Note: Replace new password with your own password. The password must contain uppercase letters, lowercase letters, numbers, and special symbols (e.g., , / ' ; :). Otherwise, the configuration will fail.
Error 1
ERROR 1819 (HY000): Your password does not satisfy the current policy requirements
This occurs because the password complexity does not meet the default requirements. Use the following command to check the default MySQL password complexity.
Check password policy settings: mysql> SHOW VARIABLES LIKE 'validate_password%';
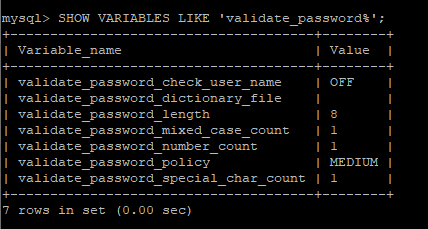
To modify the password complexity, refer to the following commands:
mysql> set global validate_password_policy=LOW; // Set low policy
mysql> set global validate_password_length=6; // Set password length
4.6. Enable Remote Access for MySQL
Execute the following command to enable remote access restrictions (Note: Ensure the password is correct, otherwise remote connection will fail. The command below enables all IPs; to enable a single IP, replace % with the specific IP address):
mysql> grant all privileges on *.* to root@'%' identified by 'new password' with grant option;
Note: Replace new password with your own password.
Then enter the following two commands:
mysql> flush privileges;

4.7. Open Firewall Port
Add port 3306 to firewalld on CentOS.
Exit to the system command line and configure the firewall to allow the port:
sudo firewall-cmd --zone=public --add-port=3306/tcp --permanent // Open port 3306
sudo firewall-cmd --reload // Reload firewall configuration
4.8. Change MySQL Language
Log in to MySQL again (refer to step 4.4).
Check status:
mysql> status
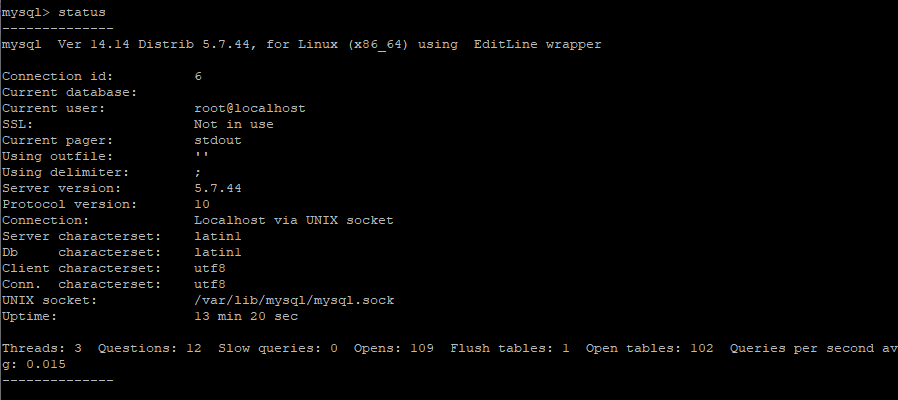
Exit MySQL, then modify the /etc/my.cnf file to change the format from latin1 to utf8:
sudo vim /etc/my.cnf
Add the following 4 lines:
[client]
default-character-set=utf8
character-set-server=utf8
collation-server=utf8_general_ci
After saving the changes to the my.cnf file, restart MySQL and enter status to check again:
sudo service mysqld restart // Restart MySQL service

5. Auto-start on Boot
5.1. Check if Auto-start is Enabled
sudo systemctl list-unit-files | grep mysqld.service
By default, enabled means auto-start is on, and disabled means it is off.

5.2. Set to Auto-start on Boot
sudo systemctl enable mysqld.service
Installation of MySQL 5.7 on CentOS 7 is now complete!